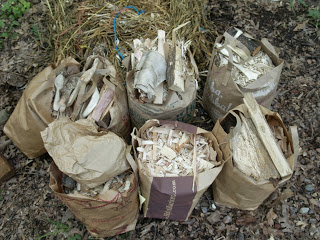
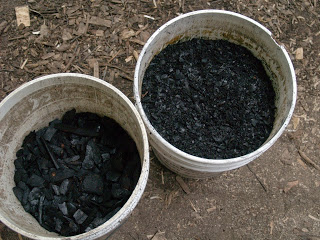
This is a project I’ve been planning to execute since last autumn. As my carving activities moved indoors as the weather chilled down, I started thinking of how many yields I could get from all of the waste shavings and chunks of wood I was accumulating. I’ve already messed around with various ways of handling the carving scraps—as mulch, bedding in the chicken coop/run, and feedstock for mycelium. But I knew, just based on the size of the residual materials from chopping and slicing, that it would be ideal for the production of biochar.
Biochar is, in many ways, a fancy term for charcoal when used specifically as a soil amendment. I won’t get into the details, but have read over the wikipedia entry and be sure to read the references and links—it’s fascinating stuff! What is biochar?
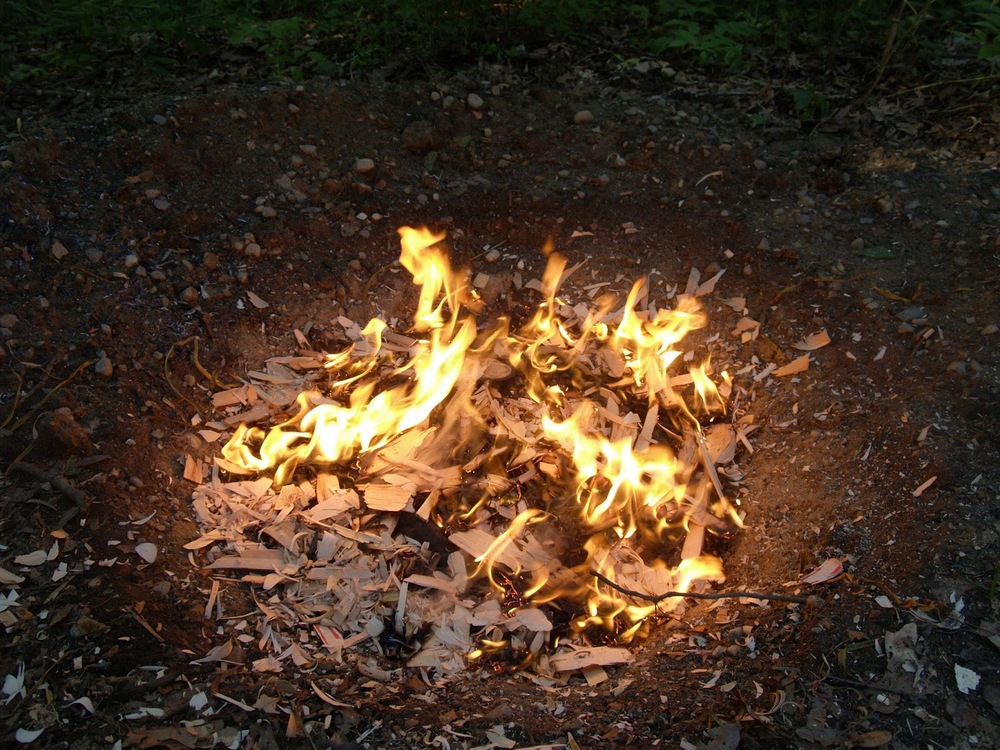
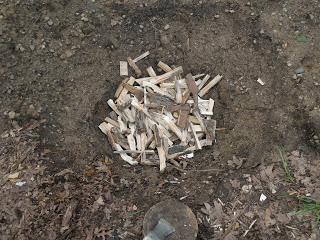
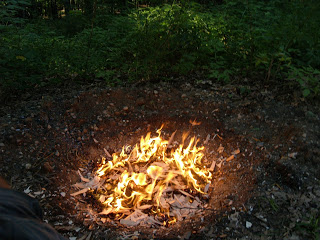
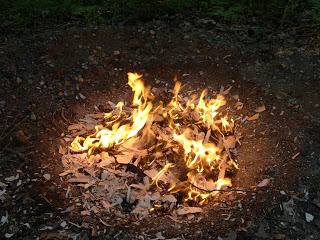
There are tons of ways to produce biochar—fancy stove, big pits, and more. I read and read about different methods. The best methods seem to be low cost and easy to set up—such as my friend Sean’s woodstove biochar system. I came across a method illustrated by Albert Bates over on his blog—a cone shaped pit dug into the earth. So I went for it. You dig a cone shaped pit that starts at grade with a 54 inch diameter circle, a 24 inch diameter circle at the bottom, and 16 inches deep. See Albert’s video for all the details.
      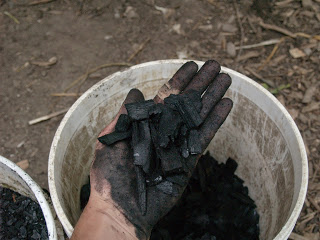  |
| An experimental seedling tray—the blocks in the foreground have ~10% charcoal inoculated with worm pee. |